Customer relationship management (CRM) tools help you track leads, manage sales pipelines, and store customer data in one place. But if your team is small or your budget is tight, paying $50–$150 per user each month for a dedicated CRM may feel excessive.
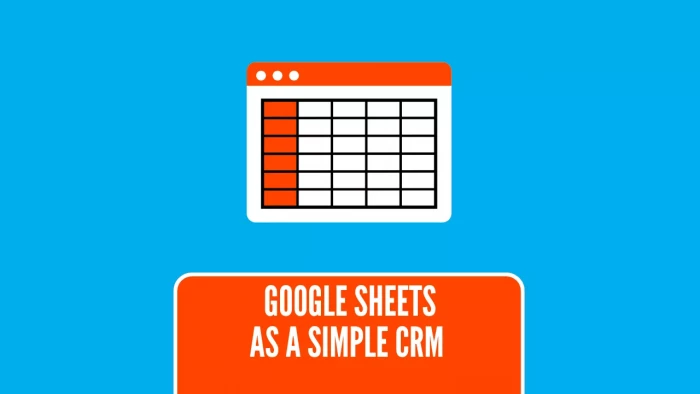
That’s where Google Sheets comes in. With the right structure and a few add-ons, you can turn a simple spreadsheet into a functional CRM—without writing code or investing in complex software.
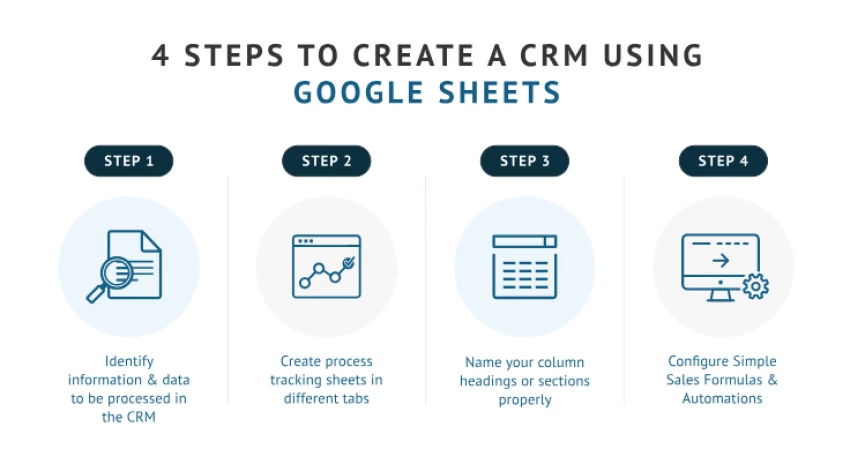
In this guide, I’ll walk you through exactly how to build a CRM in Google Sheets step by step.
You might wonder - can a spreadsheet replace a CRM? For many startups, freelancers, and small agencies, the answer is yes.
Of course, it won’t match Salesforce or HubSpot feature-for-feature. But for contact tracking, lead management, and basic reporting, it’s surprisingly capable.
Before building anything, clarify what you need your CRM to do. Ask:
For example, a freelance designer might only need to track 20–30 active client projects, while a small SaaS startup might handle hundreds of leads a month. The clearer you are on scope, the better your sheet will be.
Open a new Google Sheet and create the main columns. For a basic sales CRM, I recommend:
💡 Pro tip: Use Data Validation (Data → Data validation) for fields like Lead Source and Status. This prevents typos and ensures consistent data.
Within the same file, add different tabs:
This keeps your data clean and makes automation easier later.
Conditional formatting helps you visually scan for high-priority leads.
Examples:
You can set this via Format → Conditional formatting.
Manual updates get tedious fast. Automating data entry can save hours each week.
Three common automation options:
According to Zapier’s data, automating lead logging can save teams 3–10 hours per week depending on lead volume (source).
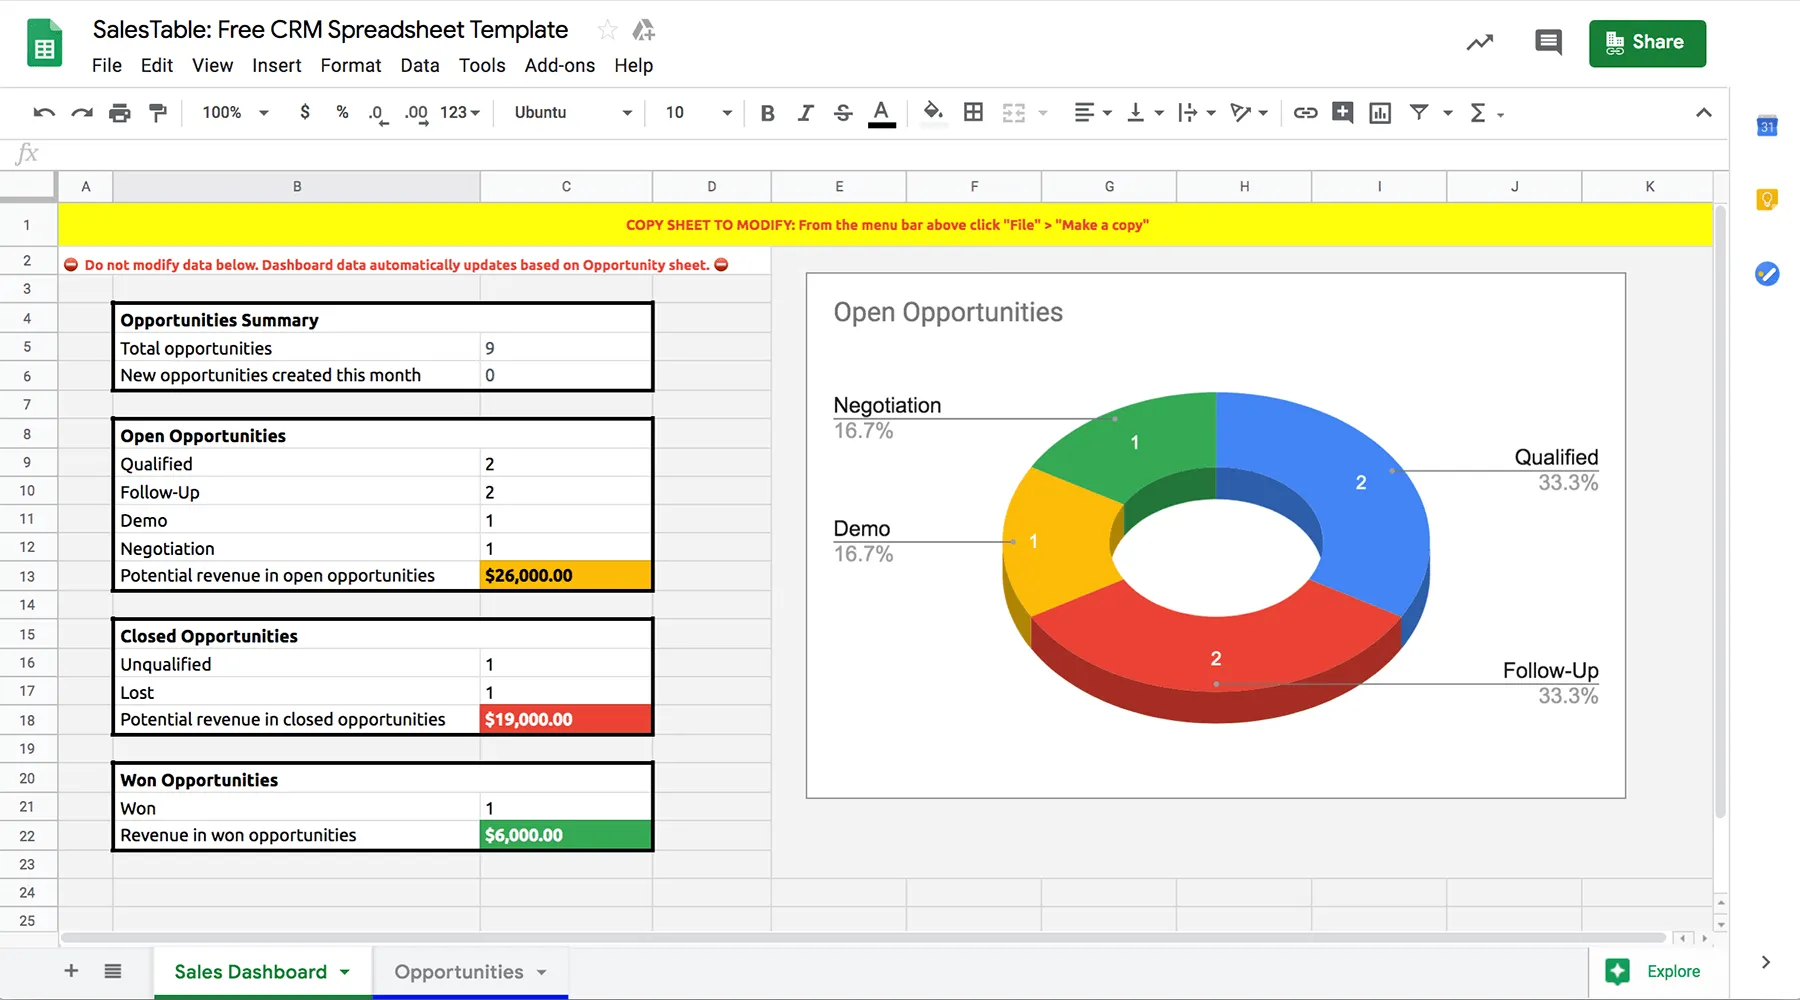
A dashboard turns raw data into insights.
Here’s a simple setup using Google Sheets’ built-in charts:
💡 Keep it simple. Dashboards that require too much manual upkeep get abandoned quickly.
CRM data is sensitive. Google Sheets offers multiple layers of protection:
Also, check your Google Workspace admin settings to ensure only authorized users can view or edit the file (Google’s guide).
A CRM is only useful if you follow up on time.
Two easy ways to create reminders:
For example, a simple script could send:
“Reminder: Contact [Contact Name] at [Company Name] today. Deal value: $X.”
The longer you use your Google Sheets CRM, the more valuable your historical data becomes.
You can track:
For better reporting, consider connecting your sheet to Google Data Studio (now Looker Studio). This allows interactive filtering, charts, and visual dashboards without affecting your raw data.
Eventually, your CRM needs may outgrow Google Sheets. Signs it’s time to move to a dedicated CRM include:
If you reach this stage, migrating from a well-organized sheet to HubSpot, Pipedrive, or Zoho CRM will be much easier - because your data is already clean and structured.

Even a DIY CRM can fail if not set up correctly. Watch out for:
Turning Google Sheets into a CRM isn’t just a budget hack - it’s a way to fully control how you manage customer data. With the right structure, simple automation, and basic reporting, you can get 80% of the value of a paid CRM for $0.
If your business grows, you can scale up or transition to a dedicated tool without losing your history. But for small teams today, a spreadsheet CRM might be all you need to close more deals and stay organized.
Be the first to post comment!
Introduction: Why Sales Automation Is No Longer OptionalToday’s B2B sales enviro...
Michael Hicklen4 weeks ago

Image search has quietly become one of the most powerful discovery, research, an...
Michael Hicklen1 month ago
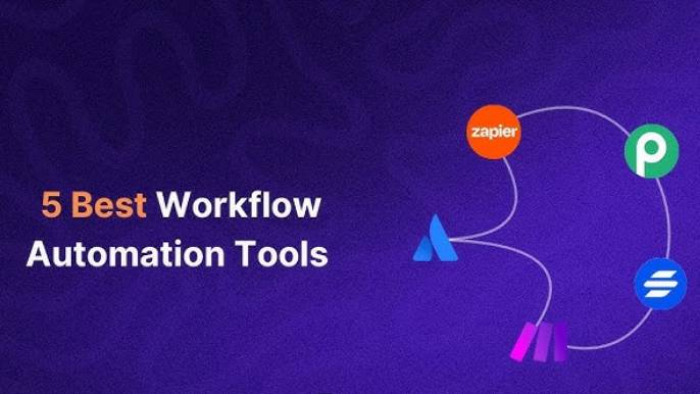
Why Workflow Automation Matters in 2026Automation tools help businesses:● S...
Michael Hicklen1 month ago
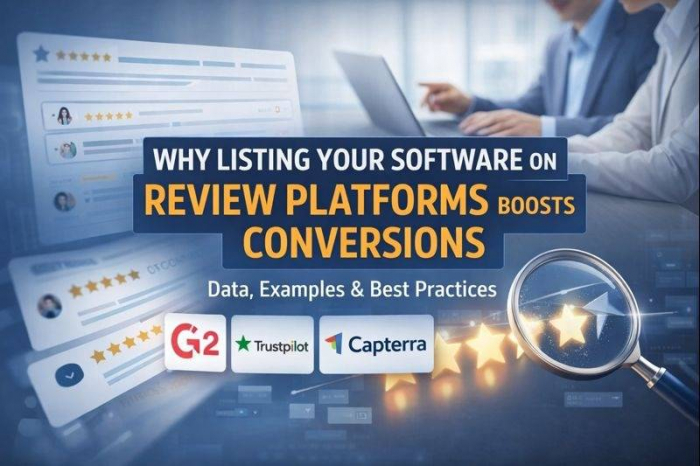
1) Foundations :What software review platforms are-Software review platforms are...
Michael Hicklen1 month ago

1. What AI Automation in Daily Work Actually Means?1.1 AI automation in daily wo...
Michael Hicklen1 month ago
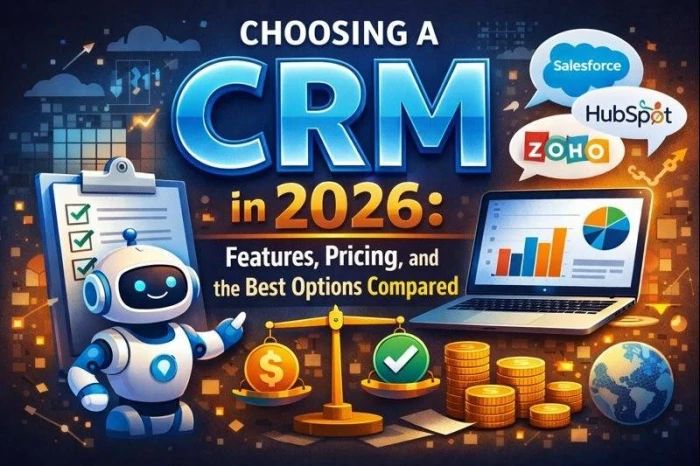
1. What Is a CRM?Definition-A CRM (Customer Relationship Management) system...
Michael Hicklen1 month ago